Showing posts with label Thespoena McLaughlin. Show all posts

Wednesday, May 8, 2013

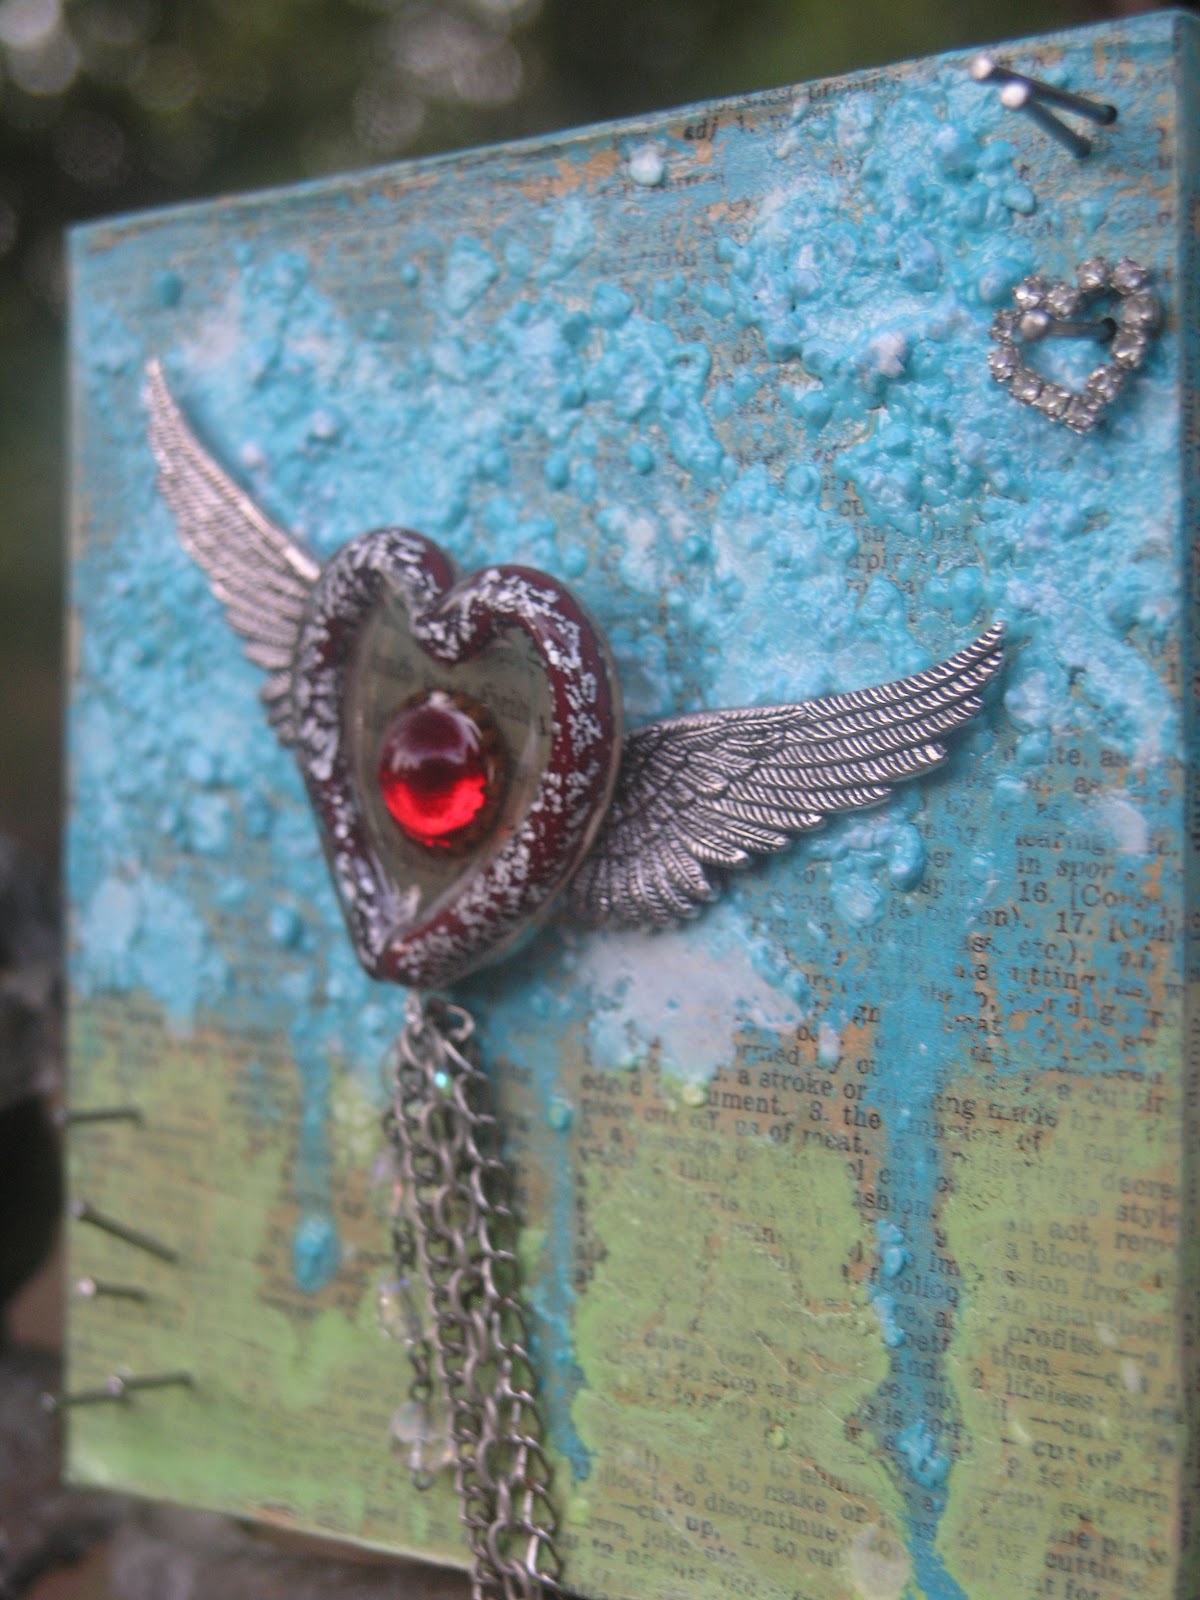
ICE Resin® Memory Flower...Mixed Media Decor..Mother's Day Gift Idea?

Hello everyone! I hope you are enjoying this fine, fine day. 
Just wanted to do a quick share of my project over on the ICE Resin® Blog today...
Go check it out for the how to's of this piece. 
:)
This would make a wonderful piece to give for Mother's Day this weekend!
And the best part is, you have plenty of time to make it. Super simple!

Thursday, January 31, 2013

OK, I admit it.....It's time to clean....& an announcement!

When you have a 12 foot long workbench, and you're down to only 2 feet of workspace, admittedly it's time to clean up. As I was working on some jewelry for the ICE Resin®  Design Team I realized the pile was encroaching on my workspace. It's time to clean!
I've been having a lot of fun with ICE Resin® lately, there are so many ways to use it and so many fun things to make. There are a lot of new products coming out very soon and you won't want to miss them. To find out more you can visit www.iceresin.com

I also want to announce that I am starting a bi-monthly linky party for ICE Resin® projects.
On the 2nd & 4th Fridays of each month I will be hosting "Friday ICE" a linky party where you can link up your favorite ICE Resin® projects right here on this blog.
The folks at ICE Resin® have graciously offered to do a giveaway once a month as well, it could be an ICE Resin® plunger or a cool bezel, we'll just have to wait and see.

So I hope you will join us starting February 8th, I can't wait to see what you make!
More details to follow...

Wednesday, November 14, 2012

Paper Poinsettia Tutorial

This tutorial was inspired by the Paper Poinsettia's at Bloomingdale's  (you can find pics of them online or on Pinterest)
 I made my own pattern to make some in a similar style. 
So today I want to show you what I did and share my pattern with you. 
The pattern and tutorial are free for personal use.
Happy Holidays!


To use the pattern you can right click and save the image to your computer and then print it out, OR you can right click and select "View Image" to see it on your computer screen (zoom in by holding down ctrl + to get it to the size you like), you then treat your computer screen like a light box, hold a piece of printer paper against it and "lightly" trace the pattern pieces with a pencil. (I say "lightly" because you don't want to damage your screen especially if it's an LCD screen) (sorry guys, I'm not buying anyone a new screen :)

1. Cut the pattern pieces out and trace them onto vintage paper. (I like to use lots of different patterns and papers from old books etc.) I stack 2 sheets together and cut 2 pieces out at a time. You need 2 pieces to make 1 petal.


 2. Next cut some wire about 2-3 inches longer than your petal. You need 1 piece of wire per petal.
I used some steel wire from the hardware store but you can use any wire (floral wire, jewelry wire, etc)
 3. Open up to two halves of each petal and apply glue down the center of each and all over one half.

4. Place the piece of wire in the center and flip the opposite petal half onto it and press over the entire surface with your fingers to seal.
One petal down....
lots more to go....
 Make lots of petals ( I made 20 small & 18 large to make two large flowers)
 5. Tear apart a Christmas pick from the floral dept at your local craft store. They tear apart easily so you can use the small pieces as stamens in the middle of your poinsettia.
 6. Now gather some of those pieces and tape them together. You can use floral tape but I didn't have any so I used some freezer tape I had on hand. Plus the color goes with my flower. :)
 7. Now it's time for bling. Put some tacky glue in a small container and mix it with a few drops of water. Not enough to make it thin but just enough so that it brushes on well. (you can also use mod podge, or gel medium but I prefer tacky glue for the glass glitter as it has a strong bond) Brush the glue onto each petal.
 8. Pour German Glass Glitter onto the glued petal and shake off the excess onto a piece of paper or a paper plate.
 9. Let your petals dry.
 
 10. Now gather some small petals, large petals, and glittered petals along with the center stamens and tape all the wires together. You can add more petals on the outside if you didn't gather enough to start with. You will know when you open them out and it doesn't look full.

 11. Slowly open out all your petals and bend them, the wire in the center of each petal will hold it's shape.
 This is what the back will look like.
 as you can see this pattern will make a pretty large flower
I can image making a bunch of these and decorating a Christmas tree with them.

I hope you like them and I would love to see the ones you make.
Enjoy!

Sunday, October 14, 2012

Halloween Jewelry...


Shipping is free for both of these items and sent via Priority Mail to ensure you get them in plenty of time for Halloween.
And an eclectic mix of beads and baubles to highlight this skeleton in a soldered coffin. Beads are all wire wrapped for durability. A longer style just right to slip over the head.
$39.00


Saturday, September 8, 2012

2013 Ice Resin Creative Team!....

Hey everyone, as promised I get to share some exciting news today.
I've been dyin to tell ya all week and today is finally here!
I made the Ice Resin Creative Team for 2012-2013!
Wow!!
I feel so honored to have been chosen to work with such amazing and creative people.
You can look forward to lots of great projects, art, jewelry, tutorials and more.
Check out the announcement on the Ice Resin blog...
 
See you all tomorrow when I announce the rules for a really fun Halloween Charm Swap!
Have a great day!

Friday, September 7, 2012

A Halloween sort of Mood...

I'm so in the mood for Halloween.
I used to have a huge Halloween party every year. My friends and I spent months making decorations, props, and building a haunted house; making all the creepy foods and setting the atmosphere.
Then I started working for a big chain Halloween store and was so busy at that time of year I didn't get to do a thing for several years. It got so bad I didn't even want to take my kids trick or treating.  It almost...ALMOST ruined the holiday for me forever. 
But now I find myself in the mood for Halloween again, I miss the haunted house, I miss everyone coming over in their costumes, I just miss the whole feeling of it. 
So I've been revisiting some of my old Halloween creations like this ATC I made...


It was made by smearing modeling compound over an old cartoon collector card and then using a paintbrush to "draw" a design in the paste. After that I did lots of color washes to get that faded coloring and a final coat of thinned black paint which settled nicely into all the grooves. 
I really had so much fun with this piece, I think I'm going to work on some new stuff with this technique this weekend. 
Also this weekend please come back and visit as I have some Exciting news to share on Sat. 
and on Sun. I am going to share the details of a new Halloween Charm swap. 
I hope you will come back by!

Sunday, September 2, 2012

Craft night! Yeah!...

 Lydia and I got to have a craft night last night. We got together and made silver spoon necklaces.
Lots of fun!
This pretty button collage necklace is hers and she did an absolutely amazing job of wire wrapping her beads (her first time ever!) (and I don't know how I didn't get a picture of her finished necklace, I could have sworn I did)
 
And of course the necklace I made would HAVE to be turquoise and silver. It features an image of my grandma Mary when she was about 18 years old. I plan to put Ice Resin in the center to protect the photo but I shared all I had left with my students at Create, so I really need some more.
I hope everyone is have a wonderful Labor Day weekend!
Hugs!


Tuesday, August 7, 2012

Crazy Busy!!!! New Art...

It's a whirlwind around here right now. 
With the Create Art Retreat in only 2 weeks! And an Ice Resin Design team application deadline the 15th, as well as some magazine deadlines, I'm  so busy I don't even know where to start. 

I thought I would share some art I got done this weekend...
 A mixed media assemblage piece. I used Ice Resin over a collage of antique ledger papers, antique photo, and ephemera inside a found rusty metal ring used as a bezel. I also used an old water key as a bezel for the leaves of the flower. I collaged and painted the inside of an antique candy tin that I removed the cover from.


 My next piece was some collage and paint work with a heart design. I used a glass heart shaped bead as a bezel and filled it with Ice Resin. The background of the heart was some antique German text that is so pretty. I love how you can see some of the blue color through the text in the heart when the light shines down. I really love that about Ice Resin.


And I got the chains and beading done on some of my soldered pendants.


I was also working on some displays for my vendor booth at Create. My friend Lydia came over and helped me bag little bits and pieces and art parts for mixed media. I was working on clipping them to the display to see how I wanted to do it.  Thanks Lydia for all your help! Hugs!
 Lydia and I got lots of collage packs tied up for class kits and for the vendor fair...
 I even went through my button stash and made up some button cards...
It's a lot of work but so worth it. Can't wait to see everyone at Create!
I hope you are all having a great week!

Monday, July 30, 2012

Introduction to Create Classes in Chicago 2012

Hey everyone! 
It's been such a busy time lately. I'm getting all my last minute things ready for Create Chicago in August.
I made some videos this weekend introducing my classes and answering a few questions about them. 
I've still got some spots left so I hope you can join us!
Also if anyone is looking for a hotel room to share give me a shout, I've got one booked.

So here are the videos...enjoy!

Sign up for these classes and more at www.createmixedmediaretreat.com


Sunday, July 15, 2012

Where Bloggers Create 2012


Hello everyone, I'm so excited to be joining in this year's Where Blogger's Create Blog Party. 
I hope you enjoy your visit.

I'm Thespoena McLaughlin, a mixed media artist and teacher living in Arkansas with my family. It's been an exciting year so far, my studio was published in the spring 2012 issue of Studios Magazine,  I have an article out in the current issue of Somerset Studio Gallery, and I will be teaching 3 classes at Create Mixed Media Art Retreat in Chicago this August.
Last year during the Where Bloggers Create party I was just building my new studio using all recycled materials and if you want to see what it looked like then you can see it here... 

 
 I thought I would start today's visit by showing you some of my flowers. We are going through a drought right now so we don't use much water, which is why the grass is brown and crispy. 
My Zinnias are looking very lovely thanks to my hubby making sure they are watered, each day we get home from work and they are positively wilted to the ground and each night he waters them and our tomato garden and then in the morning they are back to being beautiful again. It's a good thing they are so resilient.


 My youngest daughter's sunflowers are also doing well.
 The bumble bees are doing their job to pollinate.
 And the crispy grass in the yard, It's a sad state. But we move on...

So this year, the outside of the studio is still not completed but it's getting there. 
I have begun collecting different patterns of ceiling tin to do a patchwork of tiles across the ceiling inside. 
It's tough to find this stuff here where I live though. I guess there weren't many hillbillies putting tin in their cabins, lol. 

But I have made good progress on the inside of the studio. . .


 One of the wals in my studio is covered with antique sheet music.

 A few of my Halloween themed projects.
 Above is one of the projects I'll be teaching at Create in Chicago.


 This is my great grandpa's (on my mother's side) jewelers bench he built himself above.

And below is my grandpa's (on my dad's side) watch repair bench that he built. 
As you can see, I come from crafty genes.

 I actually have two dress forms but one is currently in my flea market booth wearing vintage clothing that is for sale. :)  This one wears my apron and some of my jewelry creations.


 These drawers hold some of my favorite pieces of antique hardware and also some rubber molds that I have made of different pieces of hardware and antique buttons.


 The pegboard I made with an antique frame I painted. And some of my most used tools.


 I found this antique book at a flea market and really couldn't pass it up. It's such a quaint piece. It has a lot of references as to the differences between the roles of men and women at the time, but it also has lots of inspiration within it's pages. It's so fun to read! Plus the cover is just amazing! Embossed with gold leaf applied. "The Royal Path of Life"

 I got that antique paper roll holder for my birthday last year. I couldn't believe it was actually my color, aged blue!

 These are some of my favorite tins.

 The artwork I made with my dad's metal detecting finds and the Magazine that features it on the cover. 

 I'm addicted to rust, if you can't tell. I love my metal detector and love using the things I find in my art even more. That art piece above and my dad's metal detecting finds inspired me to give metal detecting a try myself. It's truly a fun hobby.
 I found some great antique frames recently for $5 each! I love all the details. I plan to make artwork specifically to go inside of each one.

 My sewing area. About to be changed up, I've decided that this giant corner desk is taking up more space than it needs to, so I plan to get rid of it and just put in a small fold out antique sewing cabinet instead. 

 Some wonderful treasures. Some rhinestones and some old lace. 

 I love 1920's leather purses. I've started a collection. 


 Blue glass jars and antique buttons and glass pearls, I shall swoon!

 Some jewelry I'm working on. 

 I can never get enough of fibers, and tiny pieces of fabric, lace, and old textiles.


 I also adore tarnished silver, a perfect place to store my German Glass Glitter. LOVE that stuff.

 Another of my favorite things is old mirrors with pretty etching. 

 A jar full of antique chandelier crystals and a dish full of vintage rhinestone trim.

 I love old keys and old pewter dishes.

 You can see a little of my stenciled floor here and some of my vintage jewelry finds. 

And one of the t-shirts I designed. All handmade myself...

 Behind the curtains, storage for supplies and more.

And my little rust garden outside my studio.

 Well that's me and my studio...

I hope you've enjoyed your visit, I appreciate you stopping by. 
I hope you have a wonderful time at the blog party. Please check out the other guests as well. 
:)

Upcoming events...

I have some VERY Exciting news to share soon. Can't wait to spill the beans!